Roll a Ball | Developping and Building my first Unity game
In today’s blog post, I’ll be presenting the development process of an arcade game.
The goal of the game is to gather all the collectibles without touching the walls.
It consist of a top-down view of a ball rolling across an arena. Small yellow floating squares can be collected. Once all 10 cubes have been collected, the player wins. However, if the player hits any obstacle, he loses.
Check out a short gameplay:

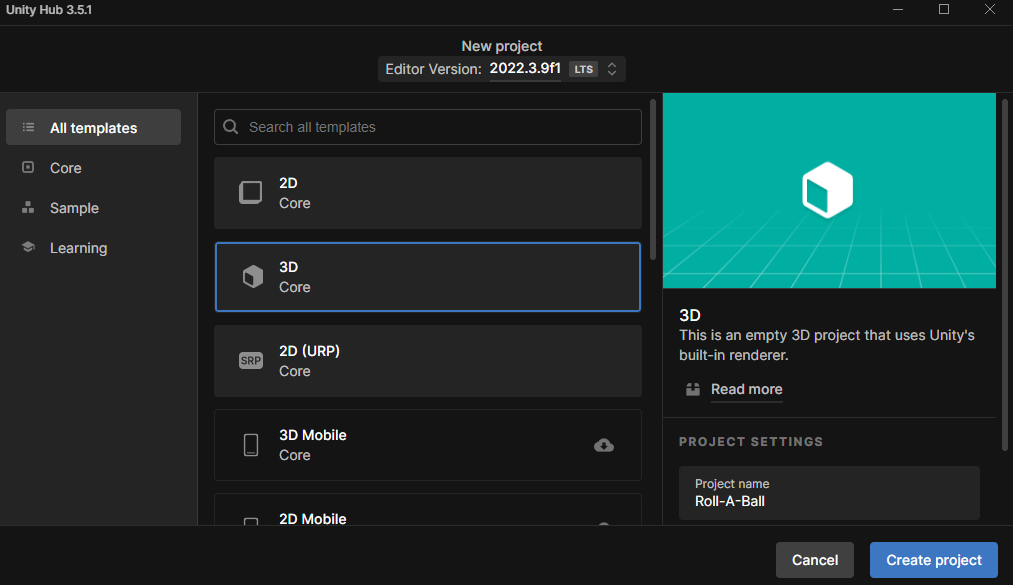
Starting the project
I created this project in Unity’s 2022.3.9f1 version as it’s stable.

I used the 3D game template.
Setup
Before implementing any mechanics to the game, we must create all the assets.
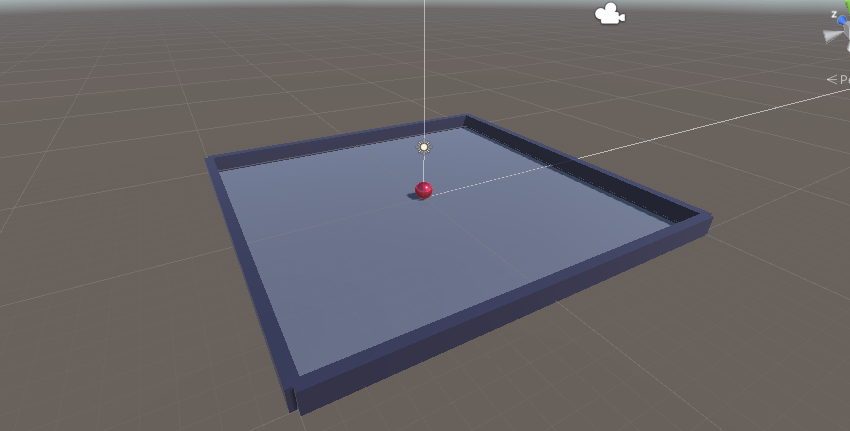
First, I made a basic square arena with walls. It is better to start simple and build more complex levels once every mechanics works properly.
I then created the player object, a ball.
Before starting scripting the movement, it is necessary to add the proper colliders to assets:
-
the ball must be assigned a rigidbody collider and a ball collider. The rigidbody is necessary to detect collision and trigger actions.
-
the walls and ground need a box collider to prevent the ball from going throught them as well as defining collisions and triggers. Moreover, I assigned appropriate labels to both object types (“wall” & “ground” label).

Movement Mechanics
Let’s implement our first game mechanics: the movement of the ball.
As our 3D game is played in a 2D plane, we only need a Vector2 movement vector for our input.
However, the ball is 3D and thus needs a Vector3 for controls.
We finally apply our movement inputs to the rigidbody of the ball to make it move.
  void OnMove(InputValue movementValue)
  {
      Vector2 movementVector = movementValue.Get<Vector2>();
      movementX = movementVector.x;
      movementY = movementVector.y;
  }

  private void FixedUpdate()
  {
      Vector3 movement = new Vector3(movementX, 0.0f, movementY);
      rb.AddForce(movement * speed);

  }
Collectible Object
To give a goal to our game, I introduced collectible objects in the shape of small cubes.
Each of these cubes stems from the same prefab asset so the modification to the prefab if applied to all squares automatically.
I applied to each of them:
- a “PickUp” label for referencing them in our code.
- a rigidbody and a box collider for collision and trigger detection.
I defined a OnTriggerEnter function that sets the behavior of the assets when the rigidbody of the ball enters the collider of the cubes.
If that happens, we deactivate the object that collided with the ball, rendering it invisible. We also update the score.
 private void OnTriggerEnter(Collider other)
 {
     if (other.gameObject.CompareTag("PickUp"))
     {
         other.gameObject.SetActive(false);
         count = count + 1;
         SetCountText();
     }
 }
Winning (or Losing) the game
If the player reaches 10 points (collecting all the cubes), he wins and the game resets.
On the other hand, if he touches the walls, he loses.
In this implementation, we define a few functions:
-
TriggerLose(): Makes the objects disappear and displays the Lose message when the ball hits a wall. It then resets the level by calling ResetLevel 3 seconds later.
-
ResetLevel(): Reloads the scene.
-
TriggerLose(): Displays the lose text and deactivates the collectibles.
-
SetCountText(): Displays the current score of the player. When a collectible collision is triggered, the score is incremented. When the player reaches 10 points, the win text is displayed and the level is reset 3 seconds later.
-
DeactivateObjectsWithTag(): Disables all the objects with the parameter tag.
private void OnCollisionEnter(Collision collision)
{
    if (collision.gameObject.CompareTag("Wall"))
    {
        TriggerLose();
        Invoke("ResetLevel", 3);
    }
}

public void ResetLevel()
{
    int currentSceneIndex = SceneManager.GetActiveScene().buildIndex;
    SceneManager.LoadScene(currentSceneIndex);
}

void TriggerLose()
{
    loseTextObject.SetActive(true);
    DeactivateObjectsWithTag("PickUp");
}

void SetCountText()
{
    countText.text = "Count: " + count.ToString();

    if (count >= 10)
    {
        winTextObject.SetActive(true);
        Invoke("ResetLevel", 3);
    }
}

void DeactivateObjectsWithTag(string tag)
{
    GameObject[] gameObjects = GameObject.FindGameObjectsWithTag(tag);
    foreach (GameObject gameObject in gameObjects)
    {
        gameObject.SetActive(false);
    }
}
Building the game
Once done with coding and perfecting your game, we must build it to make it an executable game.
To do so, we go to “Build settings”. As we want to play this game on a computer, we select Windows/MacOS/Linux.
